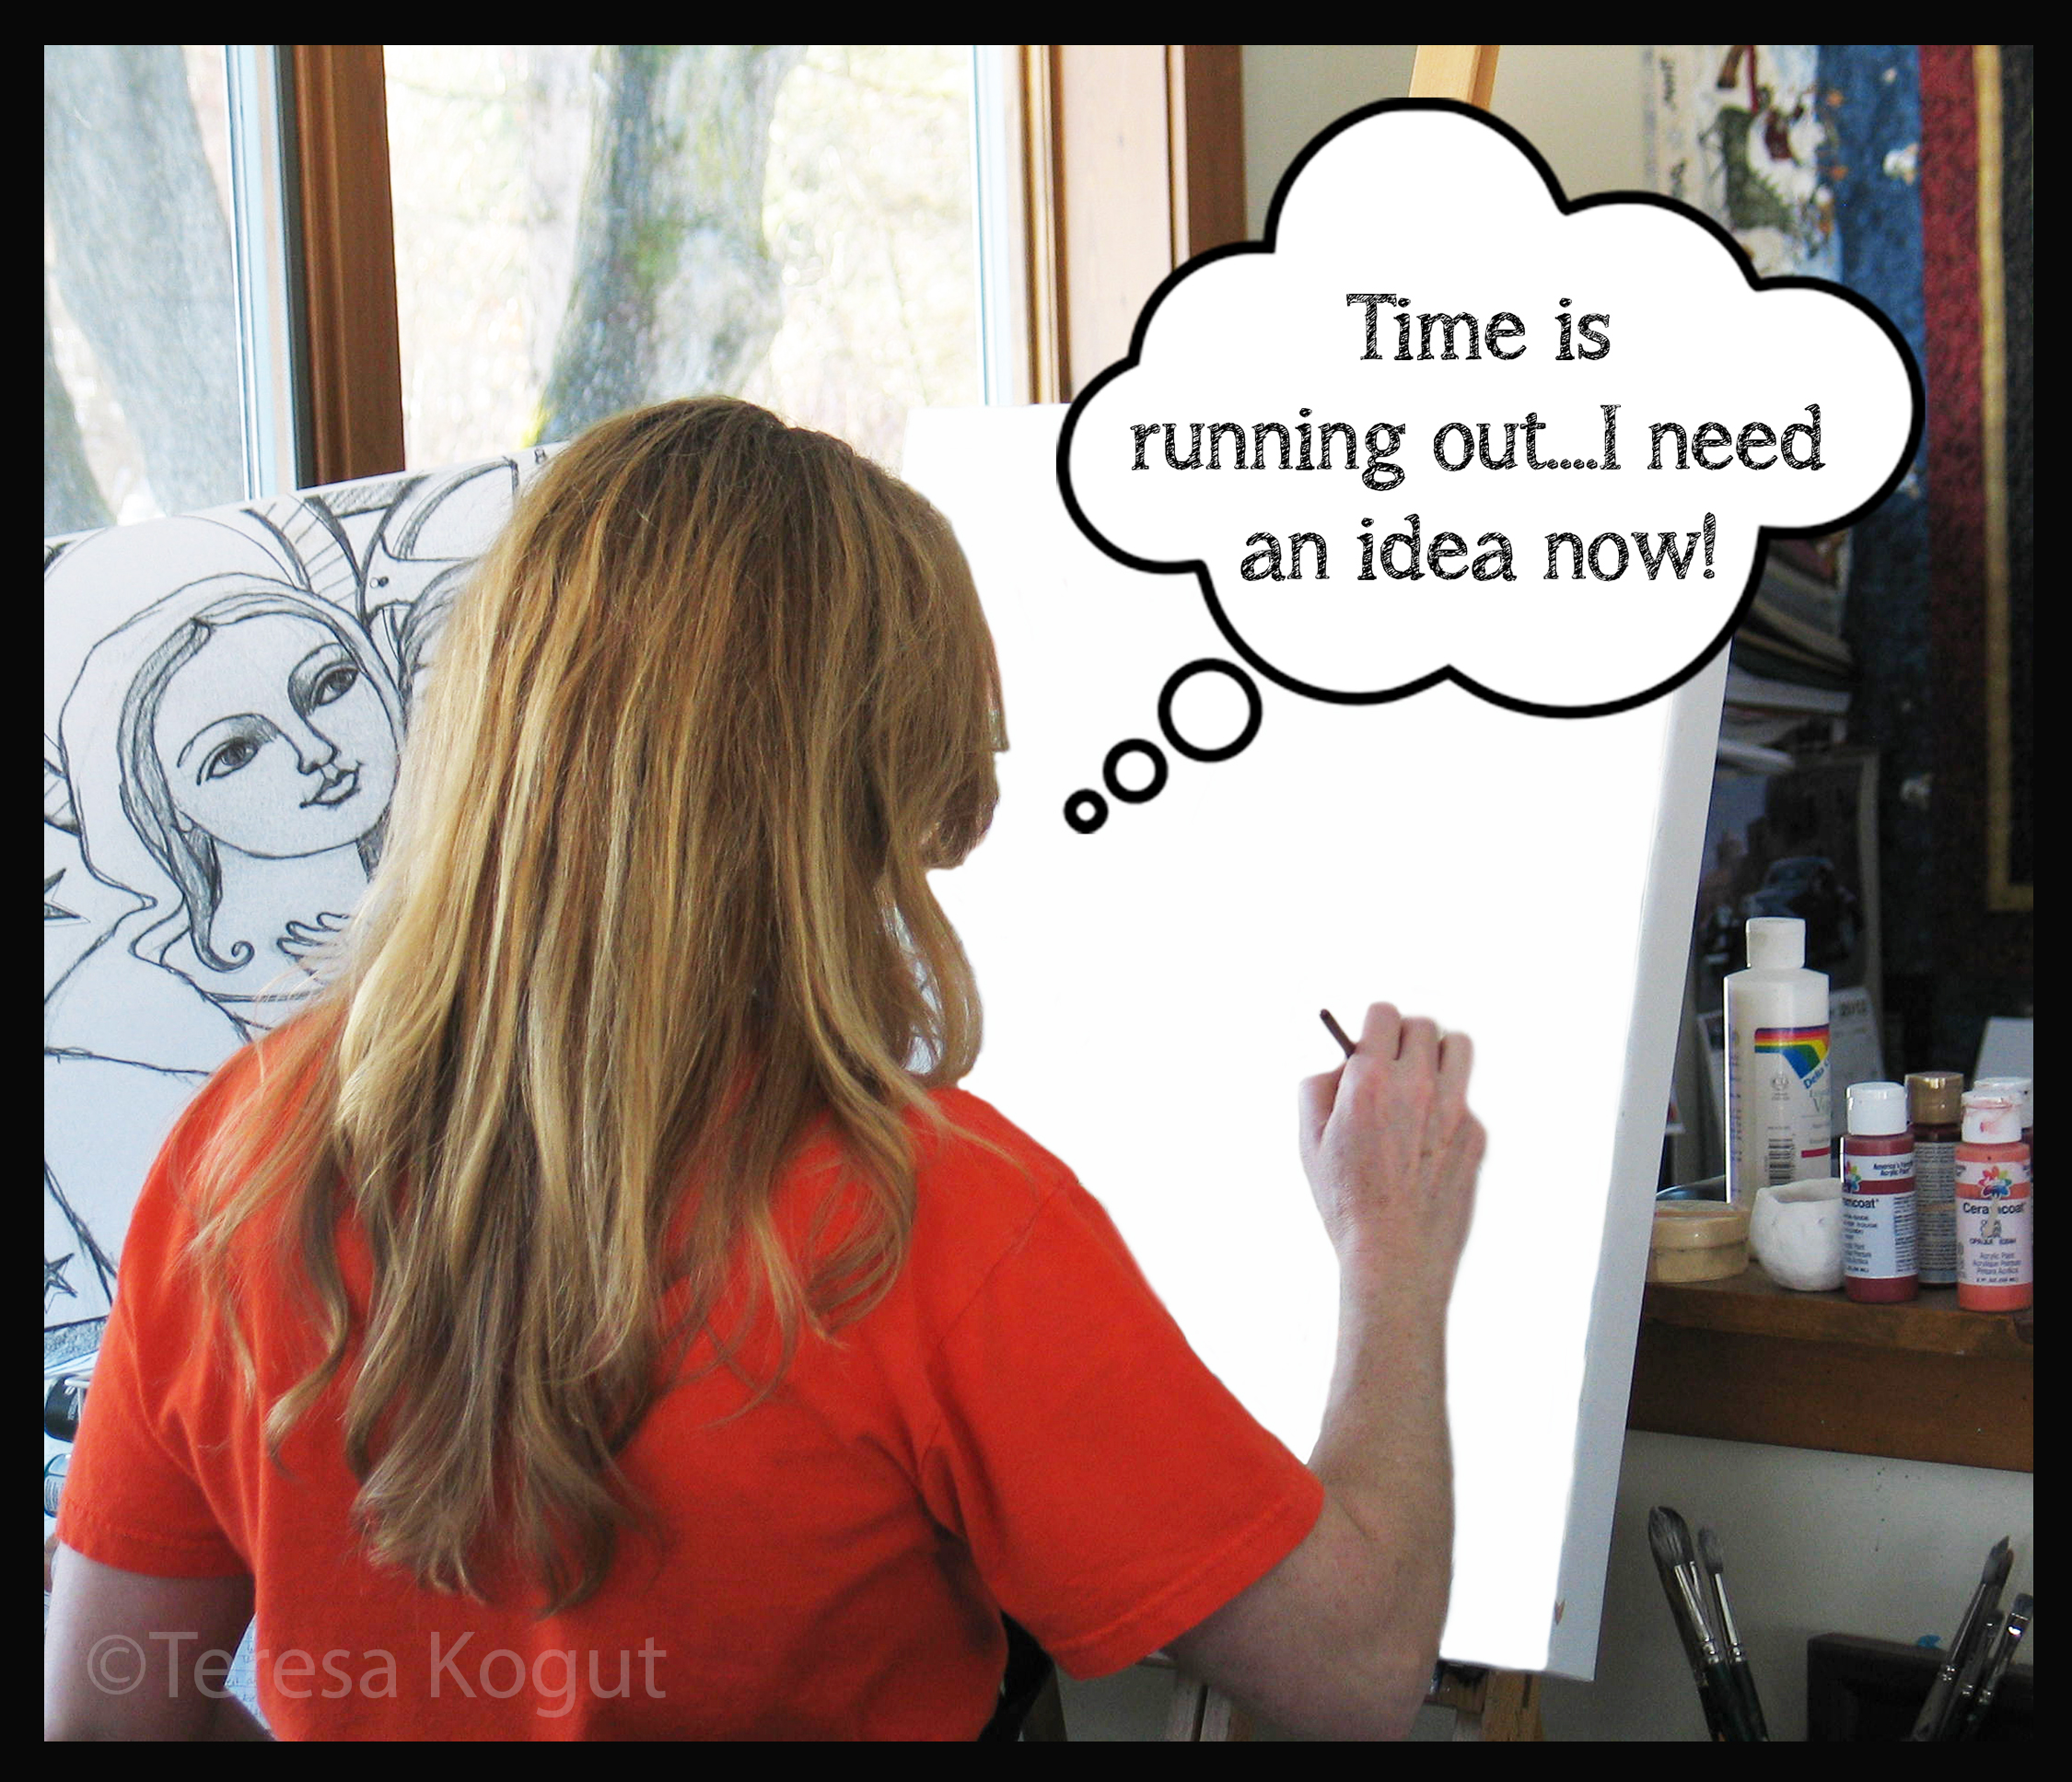
Have you ever felt the pressure to create for a client, licensee or upcoming show and you find yourself staring at a blank canvas (or a clump of clay, etc) while hearing the tick tock of the clock ringing in your ears? Or are you overcome with worries about failure, copyright infringement, pressures to "measure up" to your last success or do you work and work on a piece but are never quite satisfied with how it looks or maybe you feel tired and unmotivated. These are common concerns for artists and can crush your creative spirit. Let’s take a closer look at these issues and learn ways to overcome them.
Fear
Fear is common in any career but for an artist it is personal. Our work is a part of us. It is an expression of who we are. What if nobody likes my art? What is someone copies my art? What if I do succeed, how will I keep up the pace? What if I run out of ideas? Let’s break down some of these fears.
— What if nobody likes my art?
Surely your art will connect with people, you just have to find them. I believe the talent of an artist is a gift from God, so if you follow your heart and stay true to yourself while creating your art, it will speak to people. Test the waters by opening an Etsy shop. Listing an item costs only .20 each and you pay a small percentage of the sale price when you sell an item. Etsy is a very well known place to find unique handmade goods.
Start a blog where you share what inspires you, share videos of your painting process, etc. Connect with people on a personal level with facebook and twitter.
Keep working on improving your skills. Don’t pigeon-hole yourself into only one style, one subject matter or one medium. Experiment with your art and find your niche and your own style.
— What if someone copies my art?
Don’t be surprised if this happens. The more exposure and popularity you get, the more it is likely to happen. Register your copyrights for all of your art! (more on this later)
I have had my copyrights infringed upon more than once in my career. After sending a cease and desist letter, if they continue, then you need to discern if it is worth your time, emotions, and money to hire an attorney. Here is a good article that can help you decide what to do next.
I don’t let copyright infringement get me down. Do what you have to legally to make them stop but after that, move on. There are thieves around every corner and I refuse to let them win by living in fear. My philosophy is to leave them in the dust by always being 10 steps ahead of them. Create new, new, new, new!
Another way to help you move forward after copyright infringement is to pray for the person that stole your work. They are desperate and not confident enough to create ideas of their own…..and that would be like living in a prison.
— What if I succeed? How do I keep up the pace?
Fear of success…..sounds like an oxymoron, doesn’t it? We all want to succeed so why fear it?
First of all, don’t compare your success to other artists success. You are unique and your journey will be completely different. Sure, some things may parallel but for the most part, your path will be unique and special just like you.
Let’s say your art is chosen by a company for a Christmas tabletop program (ceramic plates, mugs, pitcher, serving tray, platter, salt & pepper, etc) and it was wildly successful. The following year, you send your ideas but the company chooses another artist’s art for the Christmas tabletop program. Don’t let this discourage you and think "it’s over". This scenario is very common in the licensing world. You can always show the new program you created to another potential licensee.
"Keeping up the pace" means always sketching. I sketch almost every day. I am fortunate to have sketchbooks full of ideas. Some never see the light of day but they are always there in case the opportunity arises for such an idea.
Don’t wait for a company or your agent to ask you for new art. You should always be painting and creating. That way, when you are asked for something in particular maybe you have ideas "ready to go" in your sketchbook.
New, new, new….that is the motto in the art world, whether you license your art or do gallery shows. Be unique, be yourself and be creating art all the time. By constantly updating your portfolio, your chances of having another "hit" will increase dramatically.
— What if I run out of ideas?
Otherwise known as creative block. I recently wrote an article 10 Simple Steps in Overcoming Creative Block. When it strikes, try some of my suggestions and if creative block creeps up on you in the future, read it again.
Over Scheduling
in today’s economic market, we tend to say yes to every project that comes our way. We wind up over scheduled and pressured to "perform". Art comes from inspiration and we need time to process ideas. I, too, am guilty of over scheduling my time, however, with experience I have learned to ask myself some important questions before saying yes to a project if I am already busy.
Is the deadline reasonable for the amount of work they are requesting?
Is the subject matter I am being asked to create aligned with my style and techniques….meaning, can I pull it off or do I want to take my art in that direction?
What is the potential return on the time invested in the project?
Is it a company I have worked with before and we have established loyalty and trust?
If you analyze the project and discover that you can’t possibly complete it by the deadline, ask for an extension. If they can’t give you more time, you must be honest with yourself as to whether you can work overtime and weekends to get the job done or if it just isn’t going to work. If you must decline the offer, they will appreciate your honesty. Remember, licensees are in the business of manufacturing and selling products and they have production deadlines that they have to meet. If you are, let’s say, a week past the deadline, you could cause them to miss the production deadline which could cost them thousands or hundreds of thousands of dollars in lost sales.
Once you have committed to a project, it is imperative that you meet the deadline. Do whatever it takes. You will build trust with your licensees and they will know they can rely on you which will ultimately bring more work your way.
Perfectionism
Creative people are often perfectionists……which can be debilitating.
First of all, don’t be harder on yourself than you would be on someone else. If you let perfectionism take over, it will show in your art. Your art will become "stiff"…without movement.
Most of the time the imperfections you see can’t be seen by anyone else. Step back, look at your art as a whole, don’t pick apart every little detail.
Sometimes I will be moving through a painting and a "mistake" appears. Something I didn’t intend to happen. That is art! Those little unintentional incidences add interest to my art.
You don’t want your work to become "stiff" or forced. If you find yourself struggling, walk away; distract your mind by answering some emails, making business phone calls, filing some paperwork or start another project/painting. It doesn’t hurt to have 2 or 3 projects going at the same time. Sometimes working on something new will trigger your mind and you’ll find a solution to your previous project.
Poor Diet; Lack of Exercise
Let’s face it, when we eat healthy foods and exercise, we have more energy and feel better. We also increase our productivity and creativity when we clear the cob webs out of our brains by giving it a boost of oxygen through exercise. Everyone’s goal is to someday retire, right? Not only to retire but to be healthy enough to enjoy retirement, right? Well, lack of sleep, eating processed fatty foods, drinking diet or sugary drinks, and never exercising will lead you to an early grave and you’ll miss out on your golden years.
Sleep – There really is no magic number. Everyone is different and you know how much you need to feel rested. I try to get 7-8 hours a night, "try" is the key word here. I know people that feel great on 4-5 hours a night. Listen to your body and make sure you get enough rest. Here is an eye-opening excerpt from The Sleep Foundation:
Sleeping too little can not only inhibit your productivity and ability to remember and consolidate information, but lack of sleep can also lead to serious health consequences and jeopardize your safety and the safety of individuals around you.
For example, short sleep duration is linked with:
- Increased risk of motor vehicle accidents
- Increase in body mass index – a greater likelihood of obesity due to an increased appetite caused by sleep deprivation
- Increased risk of diabetes and heart problems
- Increased risk for psychiatric conditions including depression and substance abuse
- Decreased ability to pay attention, react to signals or remember new information
Eating Processed Fatty Foods & Drinking Diet or Sugary Drinks – moderation is the key when it comes to "junk food". Try to avoid it altogether and that starts with just not having it in the house or studio.
Keep healthy snacks on hand; fruit and cut up vegetables are great to curb your appetite and you won’t crash from a sugar spike.
Protein snacks, such as, cheese, yogurt, cottage cheese and peanuts will help you stay full longer.
Drink plenty of water! I know you’ve heard this a million times but do you ever wonder why it hasn’t changed over the years? Because it is true! At least 8 -8oz glasses of water a day. I use a 24 oz water bottle….drink one while I work out in the morning, refill and drink another in the car when I go pick up my son from school, then a large glass of water with dinner. If you keep it simply like that, it is easier to do. Dehydration can be mistaken for hunger and can also cause headaches and leave you feeling sleepy.
Avoid fast food…..plain and simple.
Supplement your diet with vitamins, especially, a multivitamin, C, D, and calcium.
Exercise– It’s not all about losing weight. It’s about being healthy. Exercise keeps your heart, lungs and brain healthy. Add a couple days of weight-bearing exercises to keep your bones strong, too. Exercise clears the mind and gives you energy to tackle the challenges that life brings.
There is no excuse for not exercising at least 3 times a week for 30 minutes. Find the time of day that works best for you and make a commitment to yourself.
Expense is no excuse either. You don’t need to buy equipment or join a gym. For starters, go for a brisk walk for 30 minutes a day. If you have a DVD player, buy some workout DVDs….my personal favorites are the Beach Body workouts.
If money isn’t an issue, I recommend getting an elliptical machine. Set it in front of a tv and work out while watching your favorite program; before you know it your half hour is up…better yet, keep going for an hour!
.jpg)
My Dad always said, "you’ll find time to do the things you really want to do"….and he is right.

I would love to have your input! Let me know if this article was helpful. Thank you for commenting.



.jpg)
.jpg)
.jpg)
