Time Saving Tools for Artists & Designers
Along my career path, I have discovered some tools that I couldn’t live without. They are simple, yet powerful. What artist or designer doesn’t want to save time in the uncreative part of the creative process? I can’t think of any. These tools are inexpensive, simple and easy to use. Maybe you already use them yourself, but if not, after this article I am sure you will adding these items to your tool box.
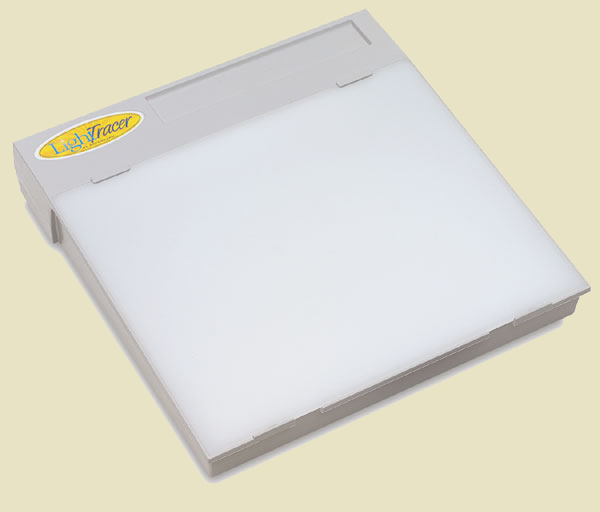
Light Box
I use a light box for transferring my drawings to watercolor paper. Before I purchased one, I used a window, but that gets old quick! After I enlarge my thumbnail sketch and re-draw onto graph paper, I tape the drawing to my watercolor paper and use the light box to trace the image. Simple and easy.
Proportion Scale
One of my favorite tools! Take the guess work out and save a ton of ink and paper by using this handy tool to enlarge your thumbnail sketches. Let’s say you want to enlarge a 3" x 2" thumbnail sketch to 12" x 8". Simple put the inner circle at 3" in alignment with the outer circle at 12". Then look at the amount you need to enlarge the image in the window…in this case 395%.
Before I discovered this tool, I would stand at the copier and guess what percentage to enlarge the sketch. It always took several copies to get it right. What a waste of time and resources! So this is a must-have for your tool box.
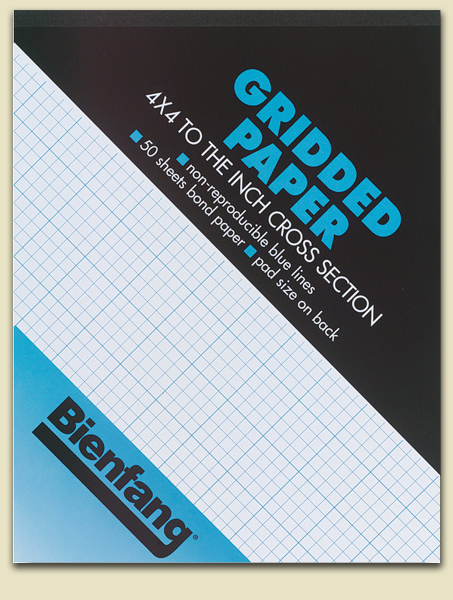
Graph Paper
I mentioned above how I use graph paper in my process of creating art. After I enlarge my thumbnail sketch to the size I need it using the proportion scale, I tape it to the back of the graph paper. The lines on the graph paper help to square up the image, especially handy if you are creating borders around the image. This is also the time to add more detail to the image.
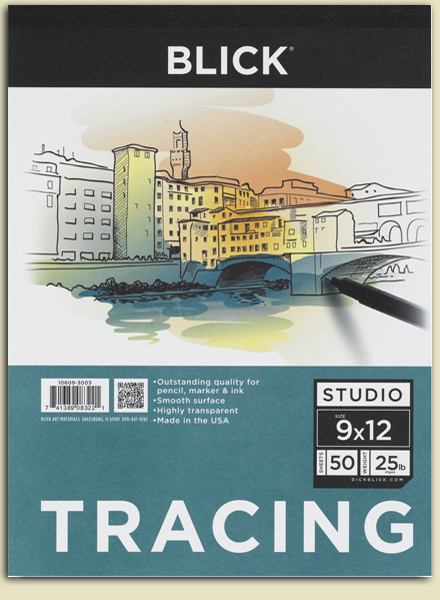
Tracing Paper
If you need to add a quote or text to a drawing, tracing paper is the tool for you. Instead of guessing if it will fit, simply lay the tracing paper over the drawing and write your text. I also use it for mirroring. For example, draw half a heart on it, then fold the tracing paper to mirror the other half of the heart. It will save you many erasers over the year 
I also use tracing paper when I am painting a face with acrylics. Sometimes an eye may look to low or one side of the face is more rounded than the other. Simply lay the tracing paper over the painting and trace the half of the face you like best using a pencil, then flip the tracing paper over and draw over the lines with the pencil. The pencil will transfer onto the painting so you can get the right proportions for the face.
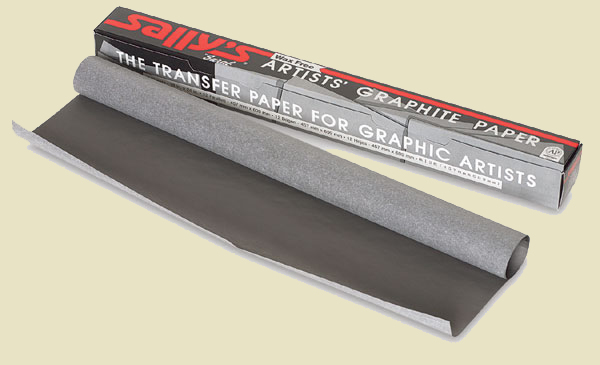
Graphite Paper
I use graphite paper to transfer by drawing onto my canvas or wood when painting with acrylics. I enlarge my thumbnail sketch using my proportion scale. My acrylic paintings are usually large so I will have several pieces of paper to tape together like a puzzle. Then I lay my taped-together drawing over the substrate I am painting on and tape it securely at the top. I slide a piece of graphite paper between the two and trace over my lines. The graphite paper transfers to the substrate.
Where to Purchase?
All of these items are available at Dick Blick. If you click on the images, it will take you directly to the product on Dick Blick’s website. Check your local Micheals, JoAnn, or Hobby Lobby stores as they carry most of these tools.
These are very basic and simple tools that you may or may not already use in your creative process. Either way, I hope they help you as much as they’ve helped me!

Do you have any handy tools to share with us? Comment below and let us know if you already use any of these tools or if you want to share your time-saving tools with us.
.jpg)



{ 0 comments… add one now }