Punchneedle For Students
Punchneedle For Students
Hey friends! I finally have the video ready for you  Sorry it took me so long. First of all, I want to thank you again for taking my punchneedle class at Sauder Village this year. I had such a great time and enjoyed meeting all of you.
The way I finish my punchneedle is for ease and speed since I create so many for the Nashville Trade Show and they are for display only. As I mention in the video, if you are going to use it (if you were to put on a felted purse, etc), sell it, or give it as a gift, you may want a more professional way of finishing. For instance, whip stitching the punchneedle to the purse, stitching cording around the finished piece to hide the weaver’s cloth etc.
I also found a great site showing a very professional way of framing your finished punchneedle. Go here to see it.
I hope you enjoyed working on your punchneedle and I also hope you continue the craft! Let me know if you have any questions.
Blessings and keep punching!
Teresa
Here are a few photos showing more finishing ideas.
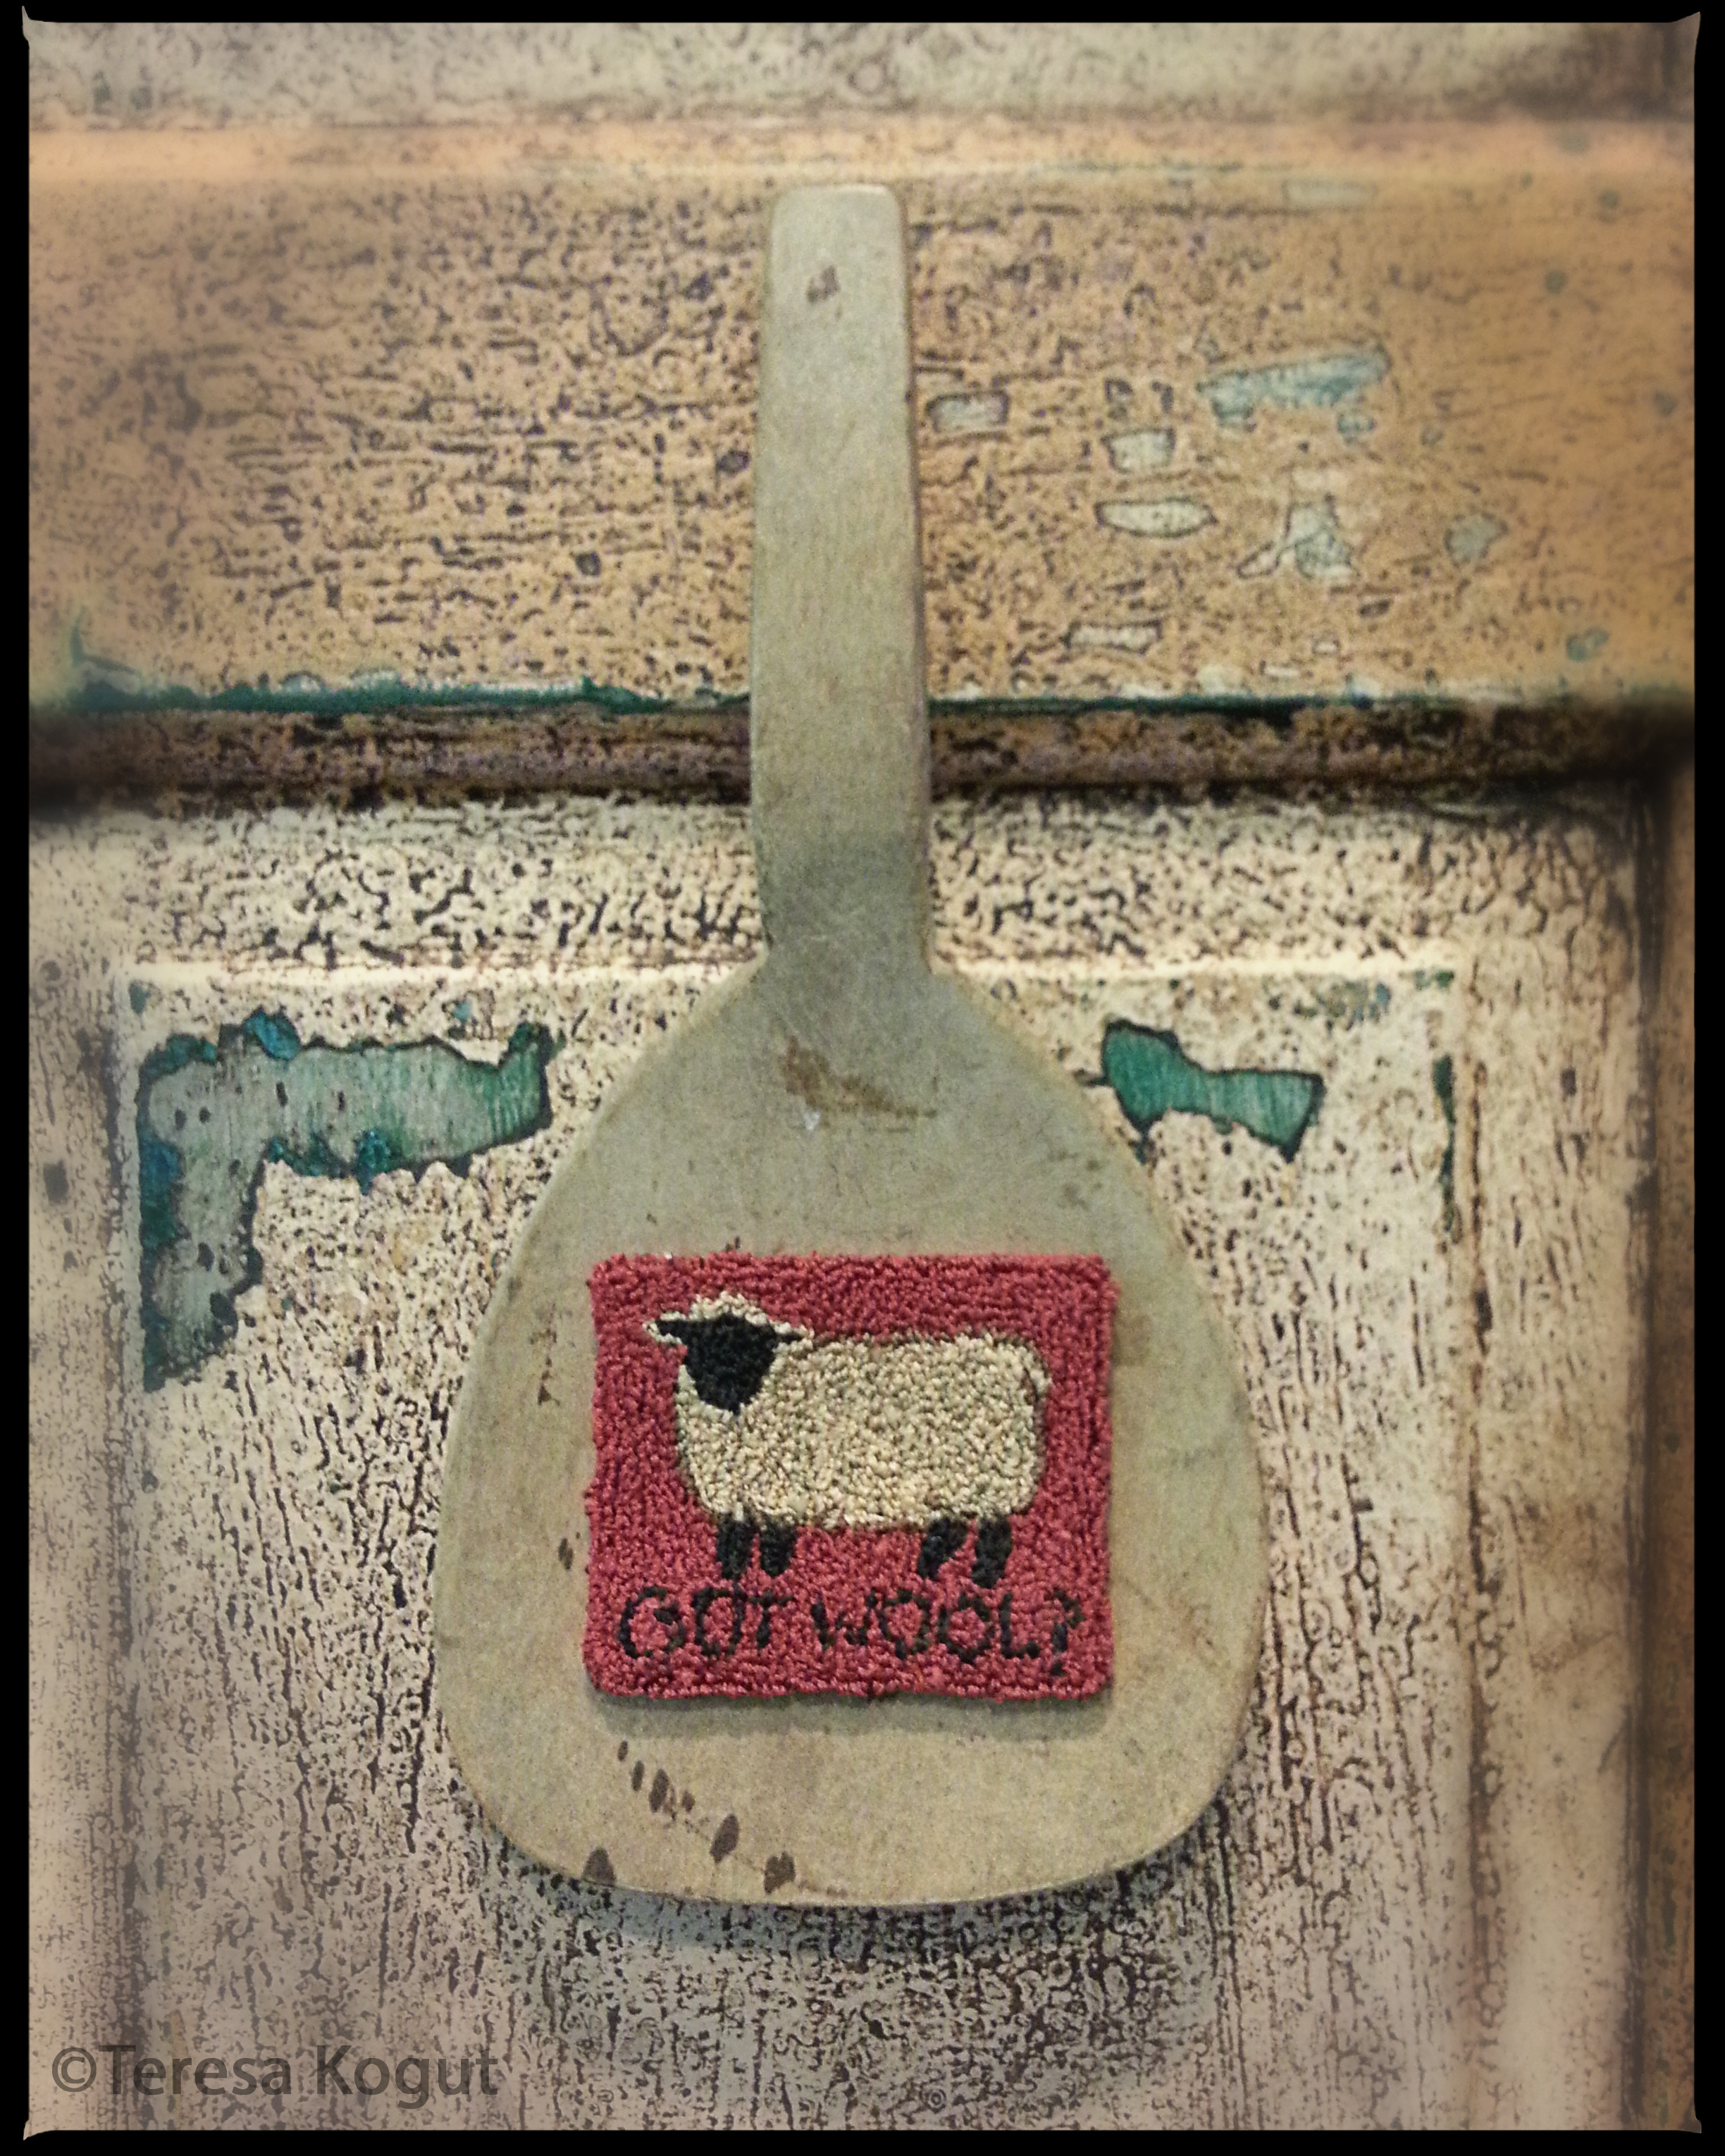
Always looking for items for my punchneedle when antiquing
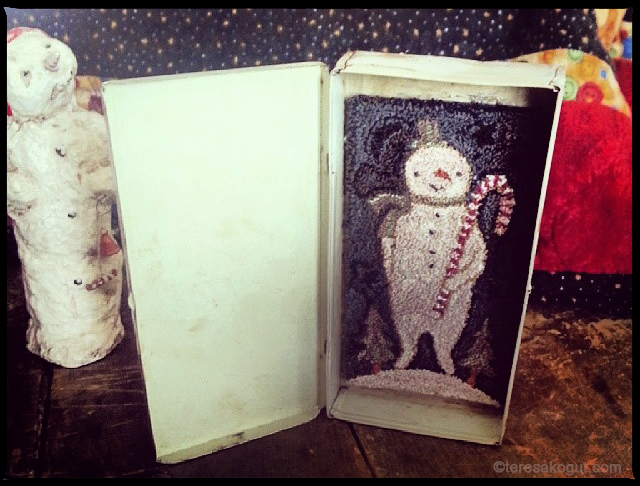
In an antique tin box
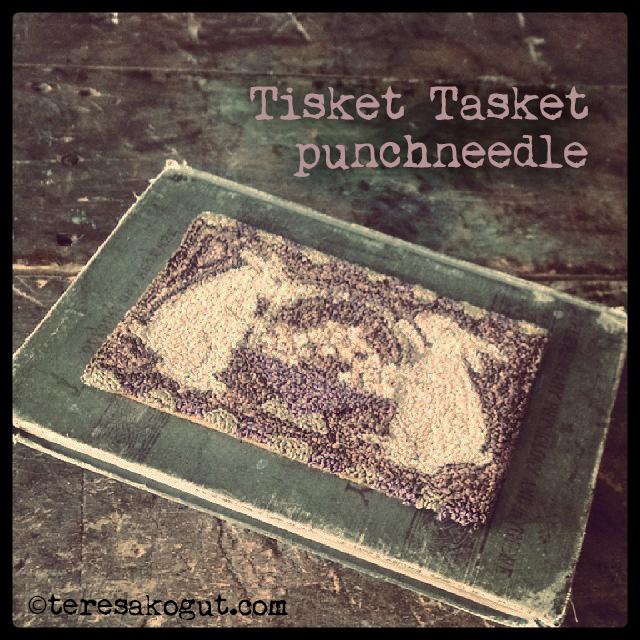
attached to a vintage book
One of my students, Julie Klinger, sent photos of her finished punchneedle “Give Thanks” on August 30th. I love the use of buttons and creating a border with wool. So beautiful! She said it was ok for me to share it with you all. She did an amazing job finishing hers. Think outside the box and try different things! Thank you, Julie.
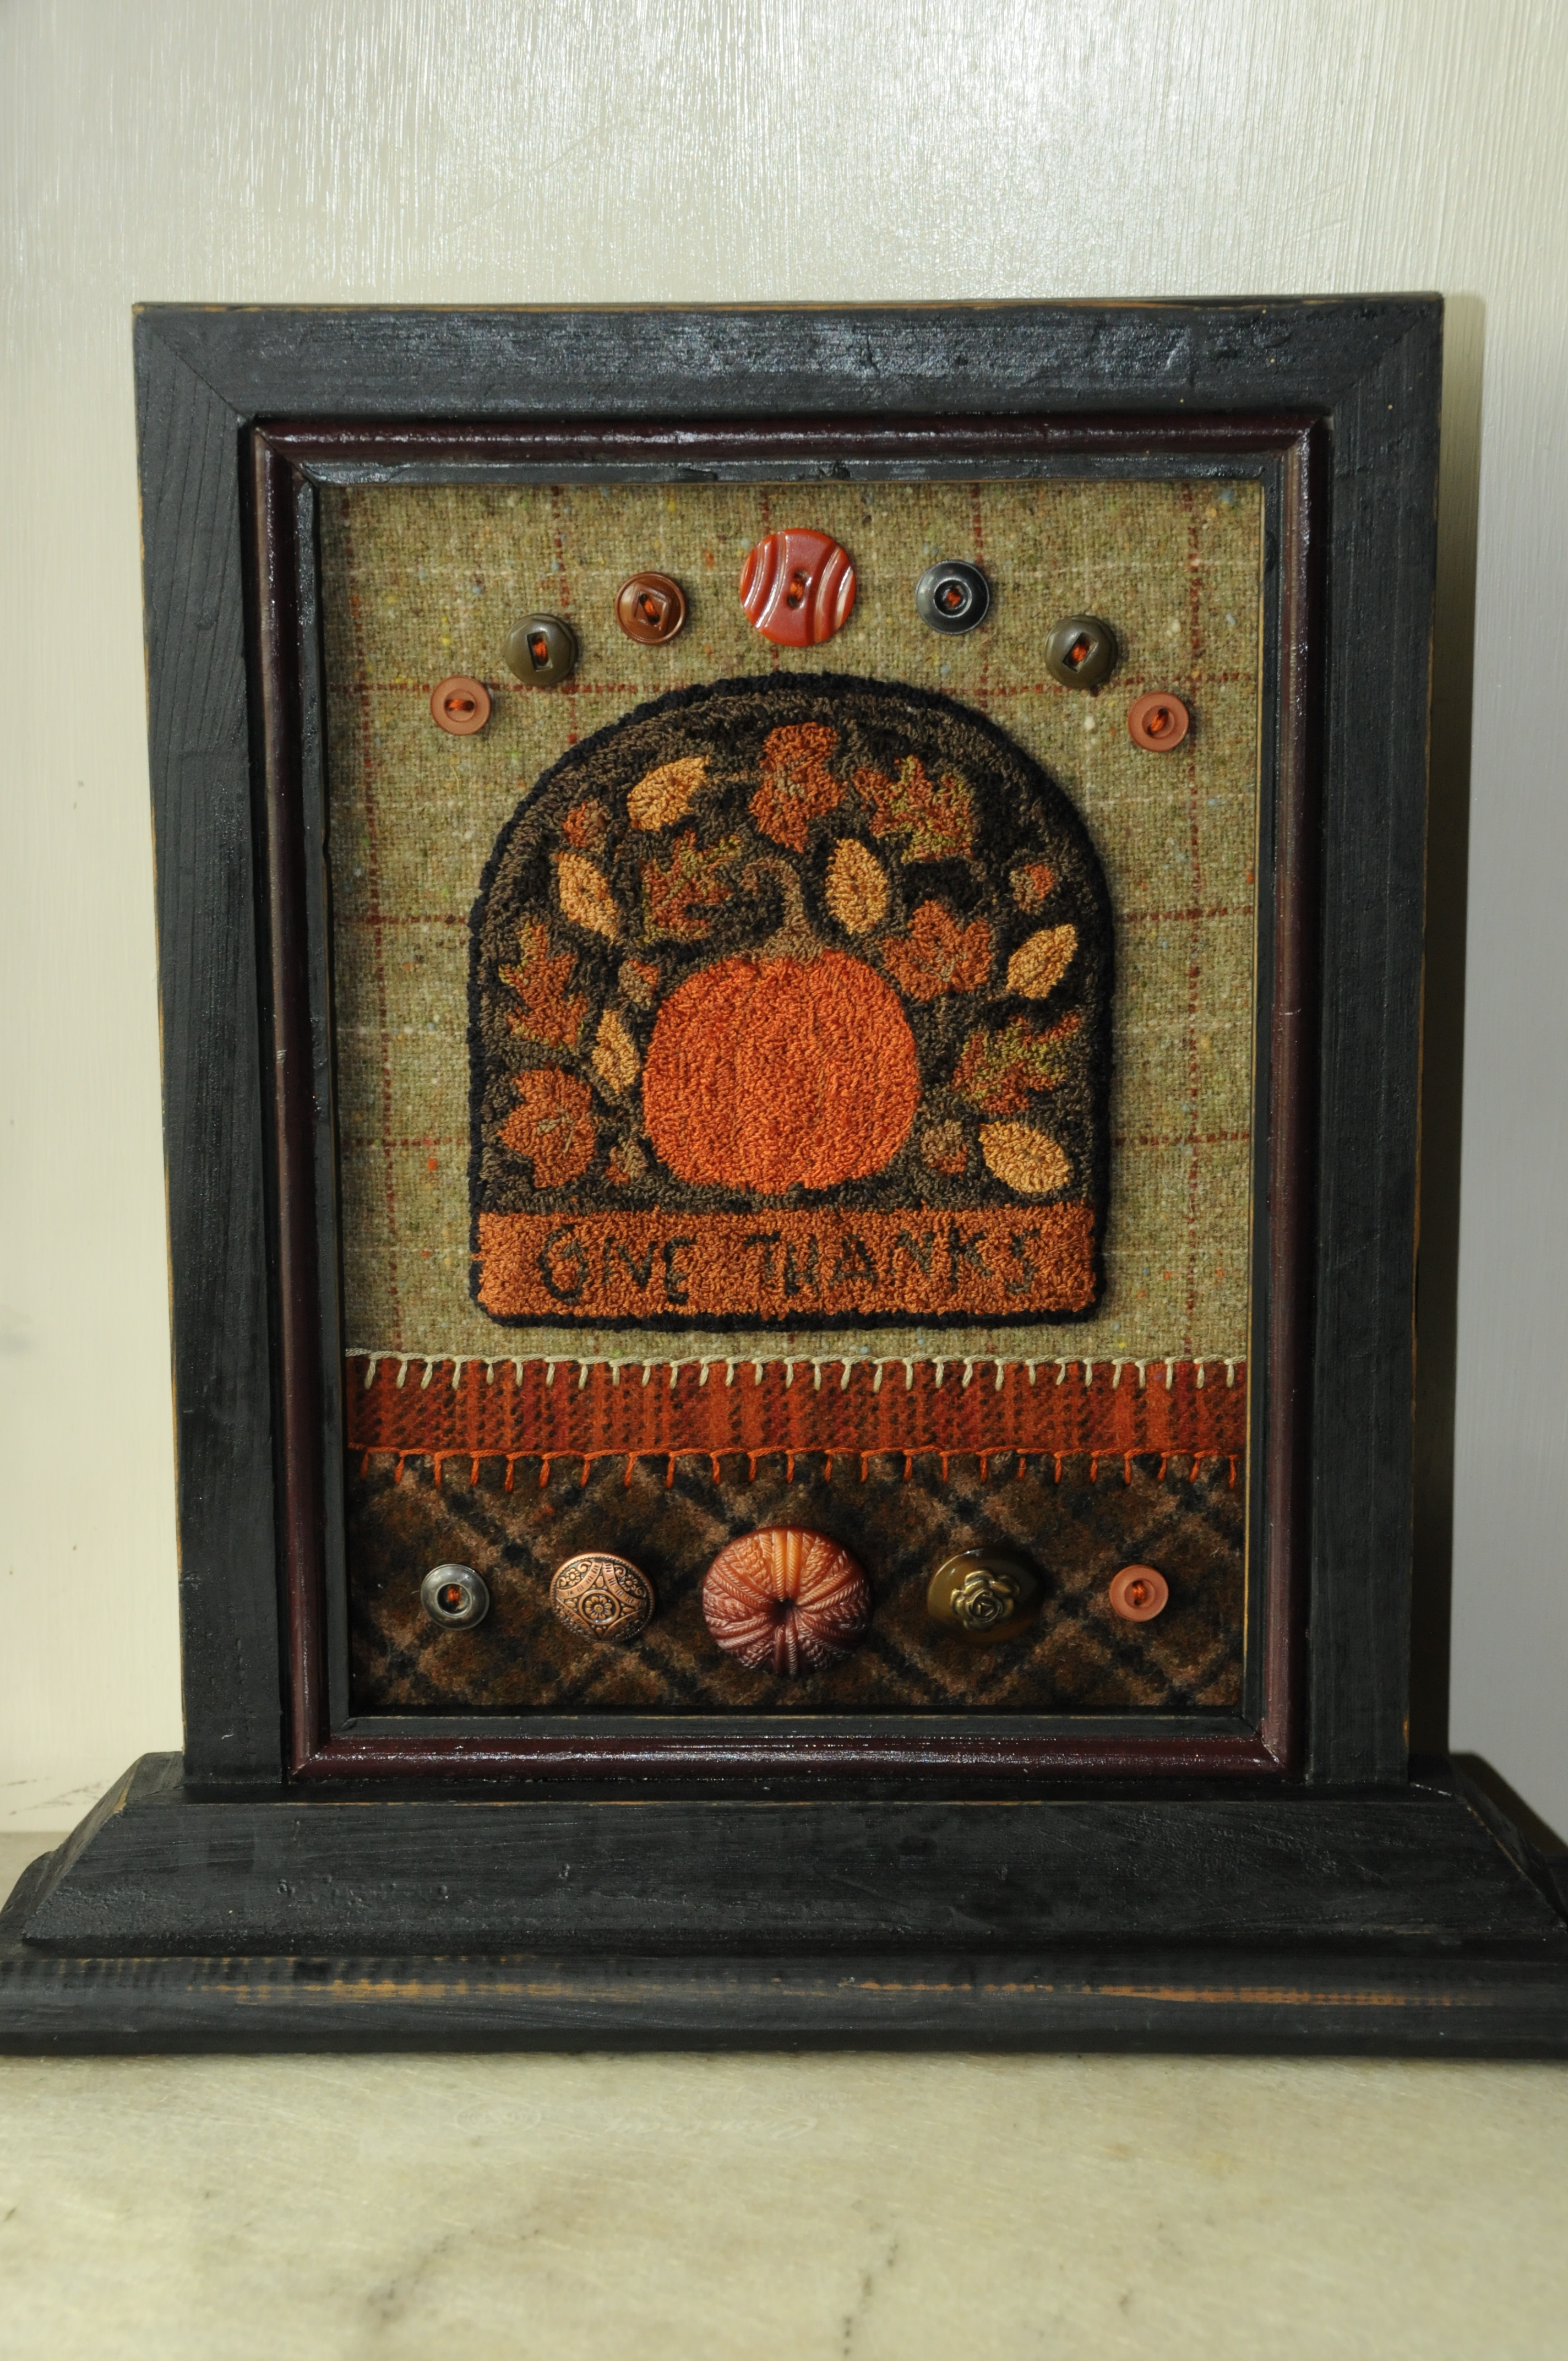
Give Thanks by Julie Klinger


{ 0 comments… add one now }