“All Hallows Eve”
10×10 acrylic on cradled board
©Teresa Kogut, all rights reserved
I love painting Halloween images….and I am really lovin’ the grungy process on my last two paintings. Now I just need to take the time to get our house in the Halloween spirit!! I am so late with decorating this year! I plan to start tonight just doing little by little each night til it’s done…..I am hoping by the weekend it is finished. I will share photos when I am done 🙂
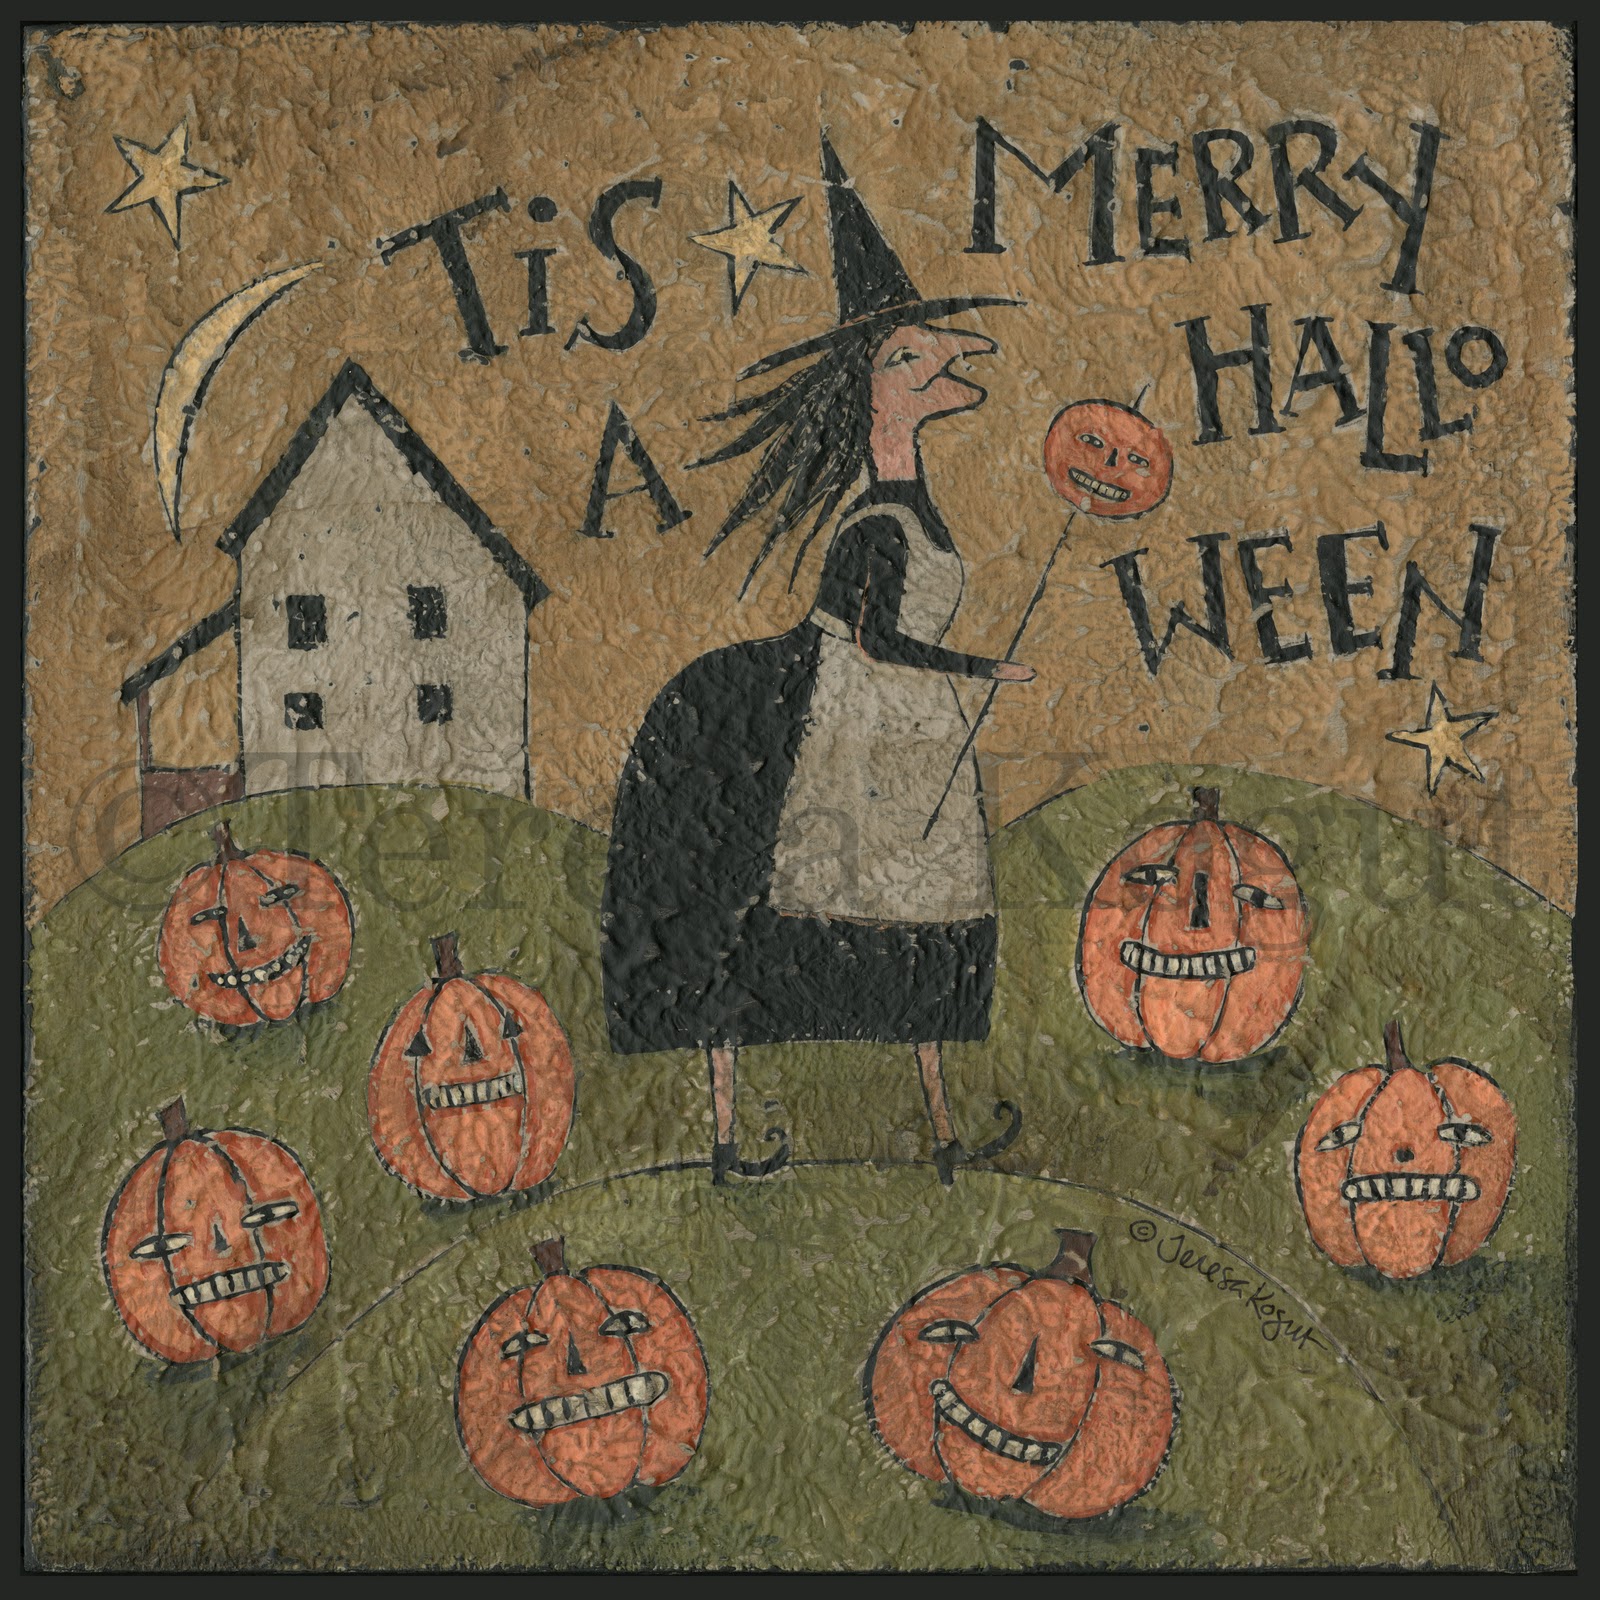
“Merry Halloween”
10×10 acrylic on cradled board
©Teresa Kogut, all rights reserved
Ok, blogger friends…….those of you who follow my blog can see that my art is all over the place!! I use to worry about this…..thinking maybe I should be more focused on a “look” or “style”. As far back as I can remember, I have loved all kinds of art. I can appreciate different mediums…. oil, acrylic, pastel, watercolor, collage, mix media and different styles……landscape, portrait, whimsical, primitive, realism, etc. It only makes sense that I like to dabble in all different kinds of art as well.
One of my favorite things to do is visit art galleries. It’s a delight for the eyes…… I stand in front of a painting for several minutes to look at the brush strokes and detail, just soaking it all in while everyone else is moving on. Recently, while on our anniversary trip, Kevin and I were visiting a gallery in Sutton’s Bay and we were admiring a talented artist’s versatility. He painted in different mediums and in a few different styles…..all done very well. It made me feel more at ease with the fact that I do the same thing…..so now instead of feeling like I should focus on a specific “look”, I am embracing my versatility.
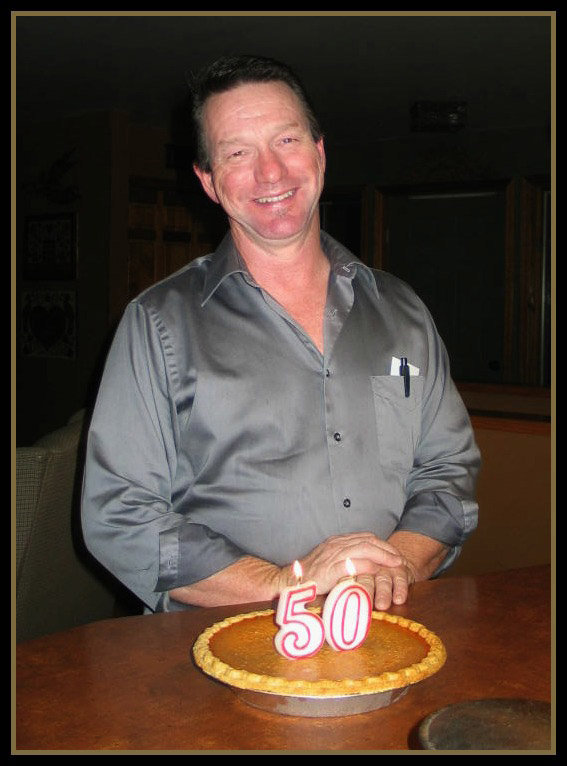
HAPPY BIRTHDAY TO MY WONDERFUL HUSBAND
& BEST FRIEND!!
Kevin celebrated his 50th birthday yesterday surrounded by family. He never wants the traditional birthday cake so I make his favorite…pumpkin pie! We also had apple crisp……so yummy! We shared many laughs due to the funny “over the hill” type cards and just enjoyed each other’s company.
Here’s to another 50!!
©Teresa Kogut, all rights reserved
Another fun Christmas pattern done! I LOVE sheep and this lil’ guy is so darling sporting his winter hat. This punchneedle actually could stay out all winter…. it doesn’t “scream” Christmas, right? Available at my
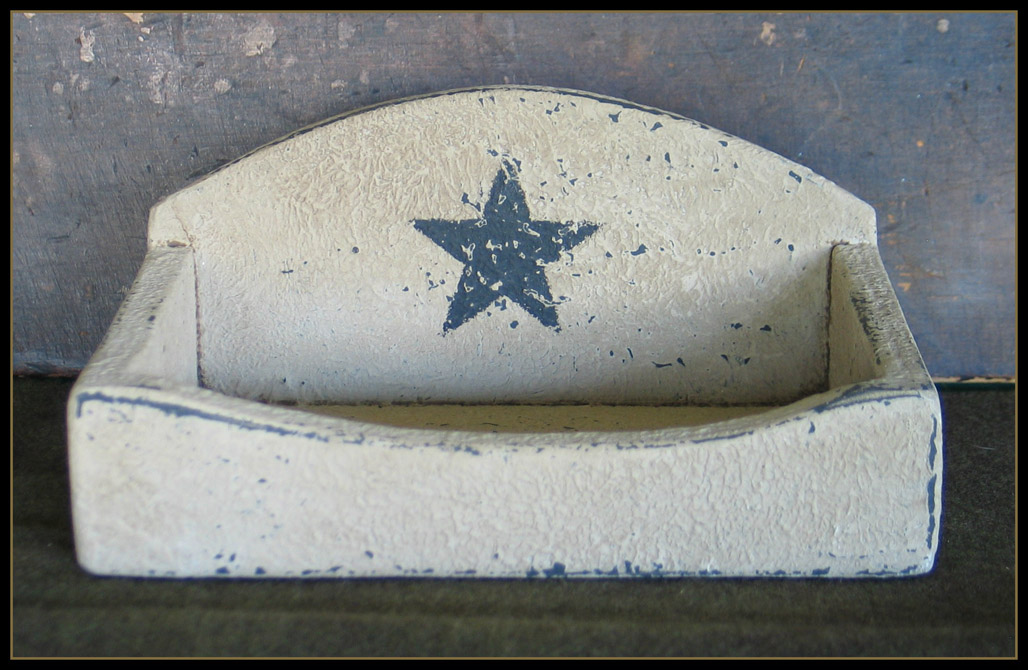
website. Also, just a head’s up, I asked Rich to make some of these little cutting boards (pictured above) to attach your finished punchneedle to……that seems to be the question I often hear……what do I do with my finished pieces?
Here is my “finishing” routine……I trim the extra weaver’s cloth leaving approximately 3/4″, then put fabric glue around the back edge of the punchneedle. Start with the corners and fold them at a diagonal, hold until it “sticks”, then fold over the four sides. Next, I put a piece of plastic, such as a ziploc bag, on top of it and place something heavy on it so it dries flat. I usually let it dry or several hours……then using a permanent marker, I color the edge of the weaver’s cloth that will be showing when you adhere it to your wood, purse, etc. Most of the time a black permanent marker will work but if not, I try to match the marker to the color of the last punched row of floss.
There are other ways to finish the edge but this works very well and it the easiest way I have found to finish a piece. Finally, using the fabric glue again, I cover the back of the punchneedle with lines of glue along the edge of the piece and center as well **Be careful not to get too much glue toward the edge as it can squeeze out and will show…..not a good look** Then flip the piece right side up and center it on your substrate whether it is a wood cutting board, antique butter paddle, cradled board (available at
Dick Blick), felted purse, a piece of wool (then frame without glass), etc. Again, place something heavy on it until it dries, and viola!!! you have a beautiful finished punchneedle embroidery to display in your home or give as a gift 🙂
HAPPY PUNCHING!!
©Teresa Kogut, all rights reserved
Another fun Christmas pattern done! I LOVE sheep and this lil’ guy is so darling sporting his winter hat. This punchneedle actually could stay out all winter…. it doesn’t “scream” Christmas, right? Available at my
website. Also, just a head’s up, I asked Rich to make some of these little cutting boards (pictured above) to attach your finished punchneedle to……that seems to be the question I often hear……what do I do with my finished pieces?
Here is my “finishing” routine……I trim the extra weaver’s cloth leaving approximately 3/4″, then put fabric glue around the back edge of the punchneedle. Start with the corners and fold them at a diagonal, hold until it “sticks”, then fold over the four sides. Next, I put a piece of plastic, such as a ziploc bag, on top of it and place something heavy on it so it dries flat. I usually let it dry or several hours……then using a permanent marker, I color the weaver’s cloth that will be showing when you adhere it to your wood, purse, etc. Most of the time a black permanent marker will work but if not, I try to match the color of the marker to the color of the last punched row of floss.
There are other ways to finish the edge but this works very well and it the easiest way I have found to finish a piece. Finally, using the fabric glue again, I cover the back of the punchneedle with lines of glue along the edge of the piece and center as well **Be careful not to get too much glue toward the edge as it can squeeze out and will show…..not a good look** Then flip the piece right side up and center it on your substrate whether it is a wood cutting board, antique butter paddle, cradled board (available at
Dick Blick), felted purse, a piece of wool (then frame without glass), etc. Again, place something heavy on it until it dries, then viola!!! You have a beautiful finished punchneedle embroidery to display in your home or give as a gift 🙂
HAPPY PUNCHING!!
Christmas cards!!!! It’s never too early to start writing out your Christmas cards…..maybe I should start now to ensure I get them all done this year!! These cards were created from my original watercolor “Santa Claus is Coming to Town” that I painted for the 2012 From the Heart calendar published by Legacy Publishing Group. You will receive 20 cards and 20 coordinating envelopes (notice how cute the envelopes are 😉 in a keepsake box. In the past I have used the box to put a present inside the following Christmas. All you have to do to enter the drawing is post a comment below or on my facebook page. Good Luck! Drawing will be announced by November 1st.
©Teresa Kogut, all rights reserved
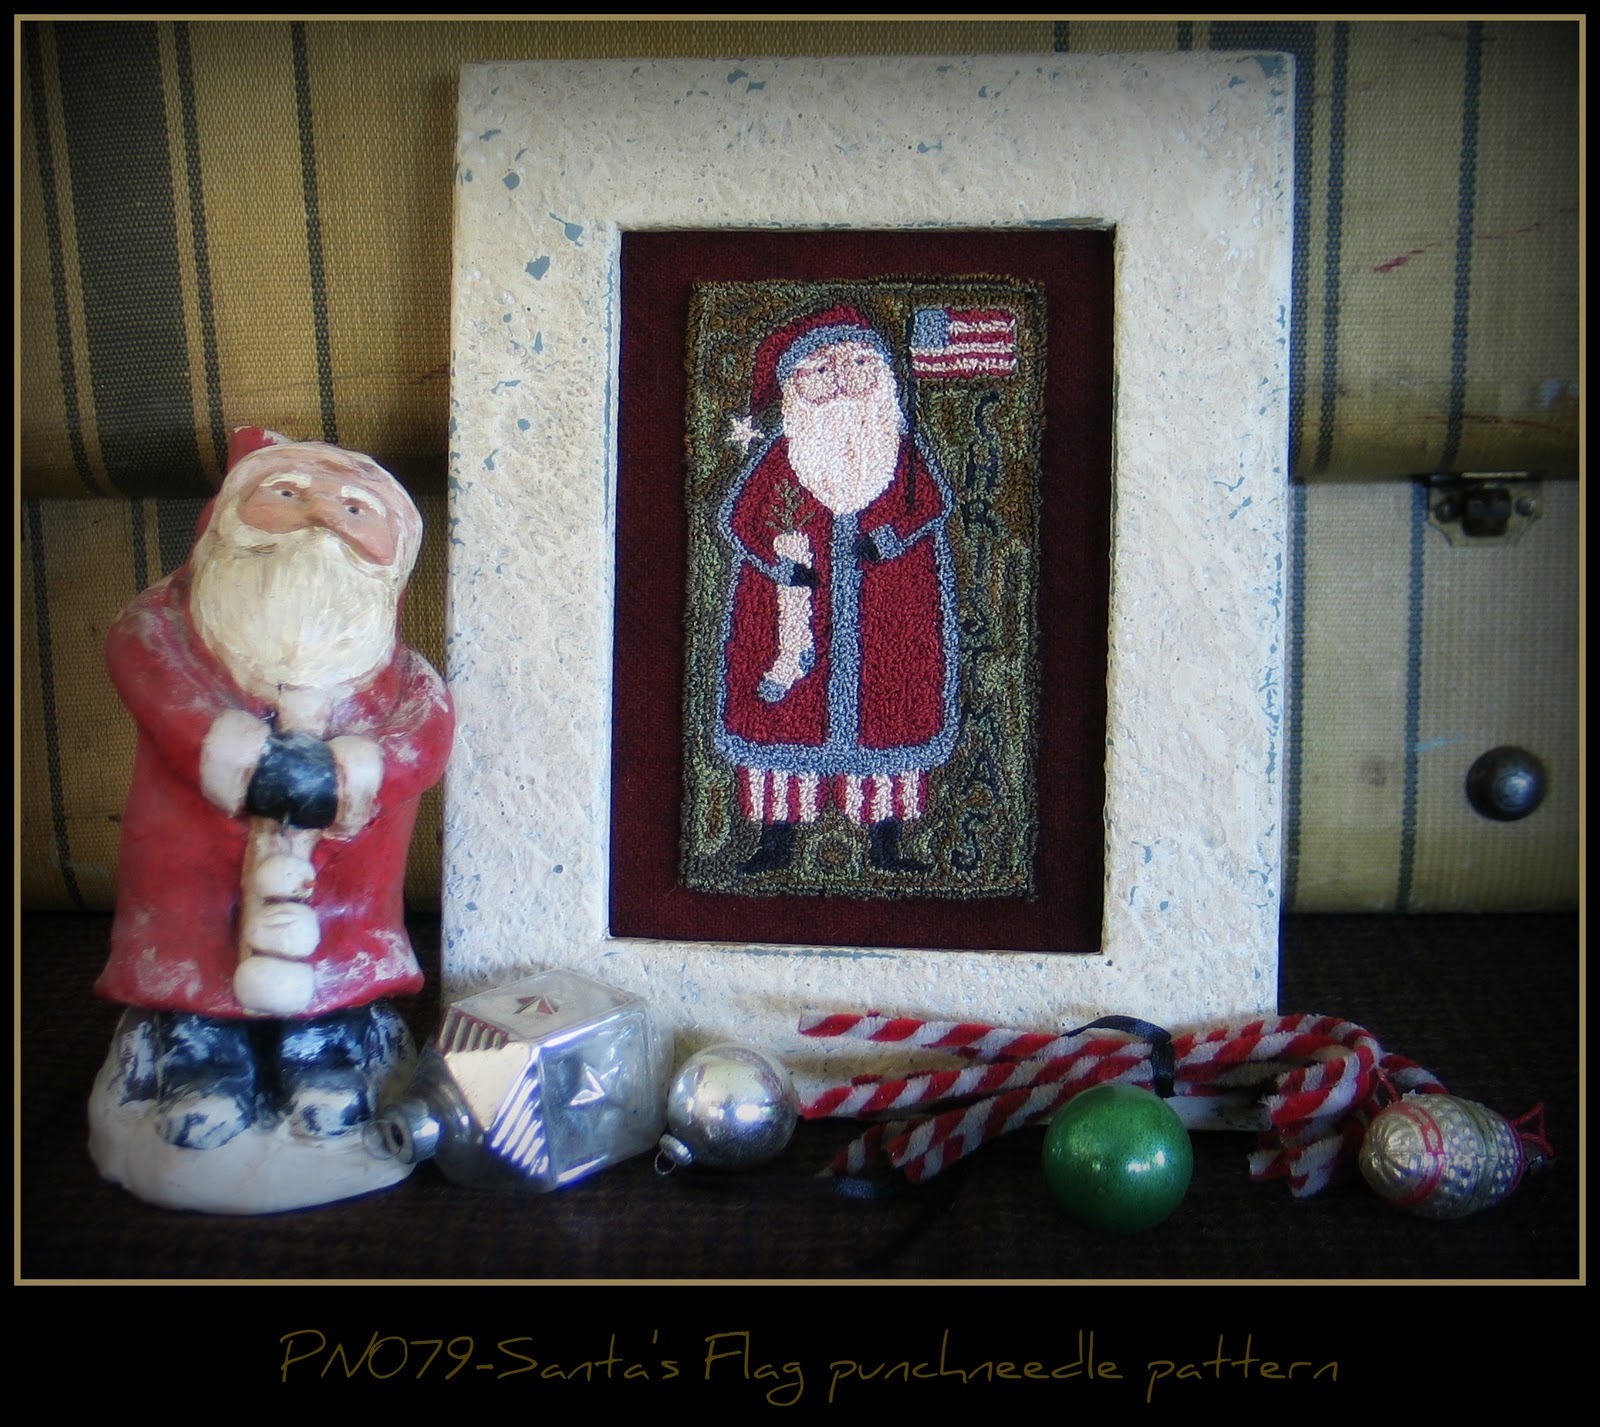
to start making Christmas gifts!!!! Love this patriotic Santa. I tried something different this time. I randomly punched four colors of floss for the background….reminds me more of a hooked rug….which we all love, right? Adding this little guy to my website today if you are ready to get punchin’!! Click
here.
Tomorrow……announcing the October give away!!!
I couldn’t believe it when Ryan (my adorable son pictured above) pulled Cathy’s name from the bowl!!! Cathy was the winner of the August give away as well and she won a 2012 calendar!! When I saw Cathy’s name again this month, I exclaimed “Wow, she won last month!” My husband said “well, she can’t win two months in a row, can she?”…..my answer….”why not?” It just goes to show you that you should enter my drawings EVERY month!!! The next two months could be you 🙂
Thank you to all my blogger and facebook friends for entering the drawing…….I will be posting the new give away soon.
Also a big thank you to Ryan for doing the drawing…he wasn’t crazy about posing for the picture……..
Finally, three Halloween and one Autumn punchneedle embroidery patterns are available for purchase!! I know it is getting close to Halloween but there is still time to get your pattern and create a treat before the big day!! Your can get your pattern here.
Now, on to Christmas patterns 🙂